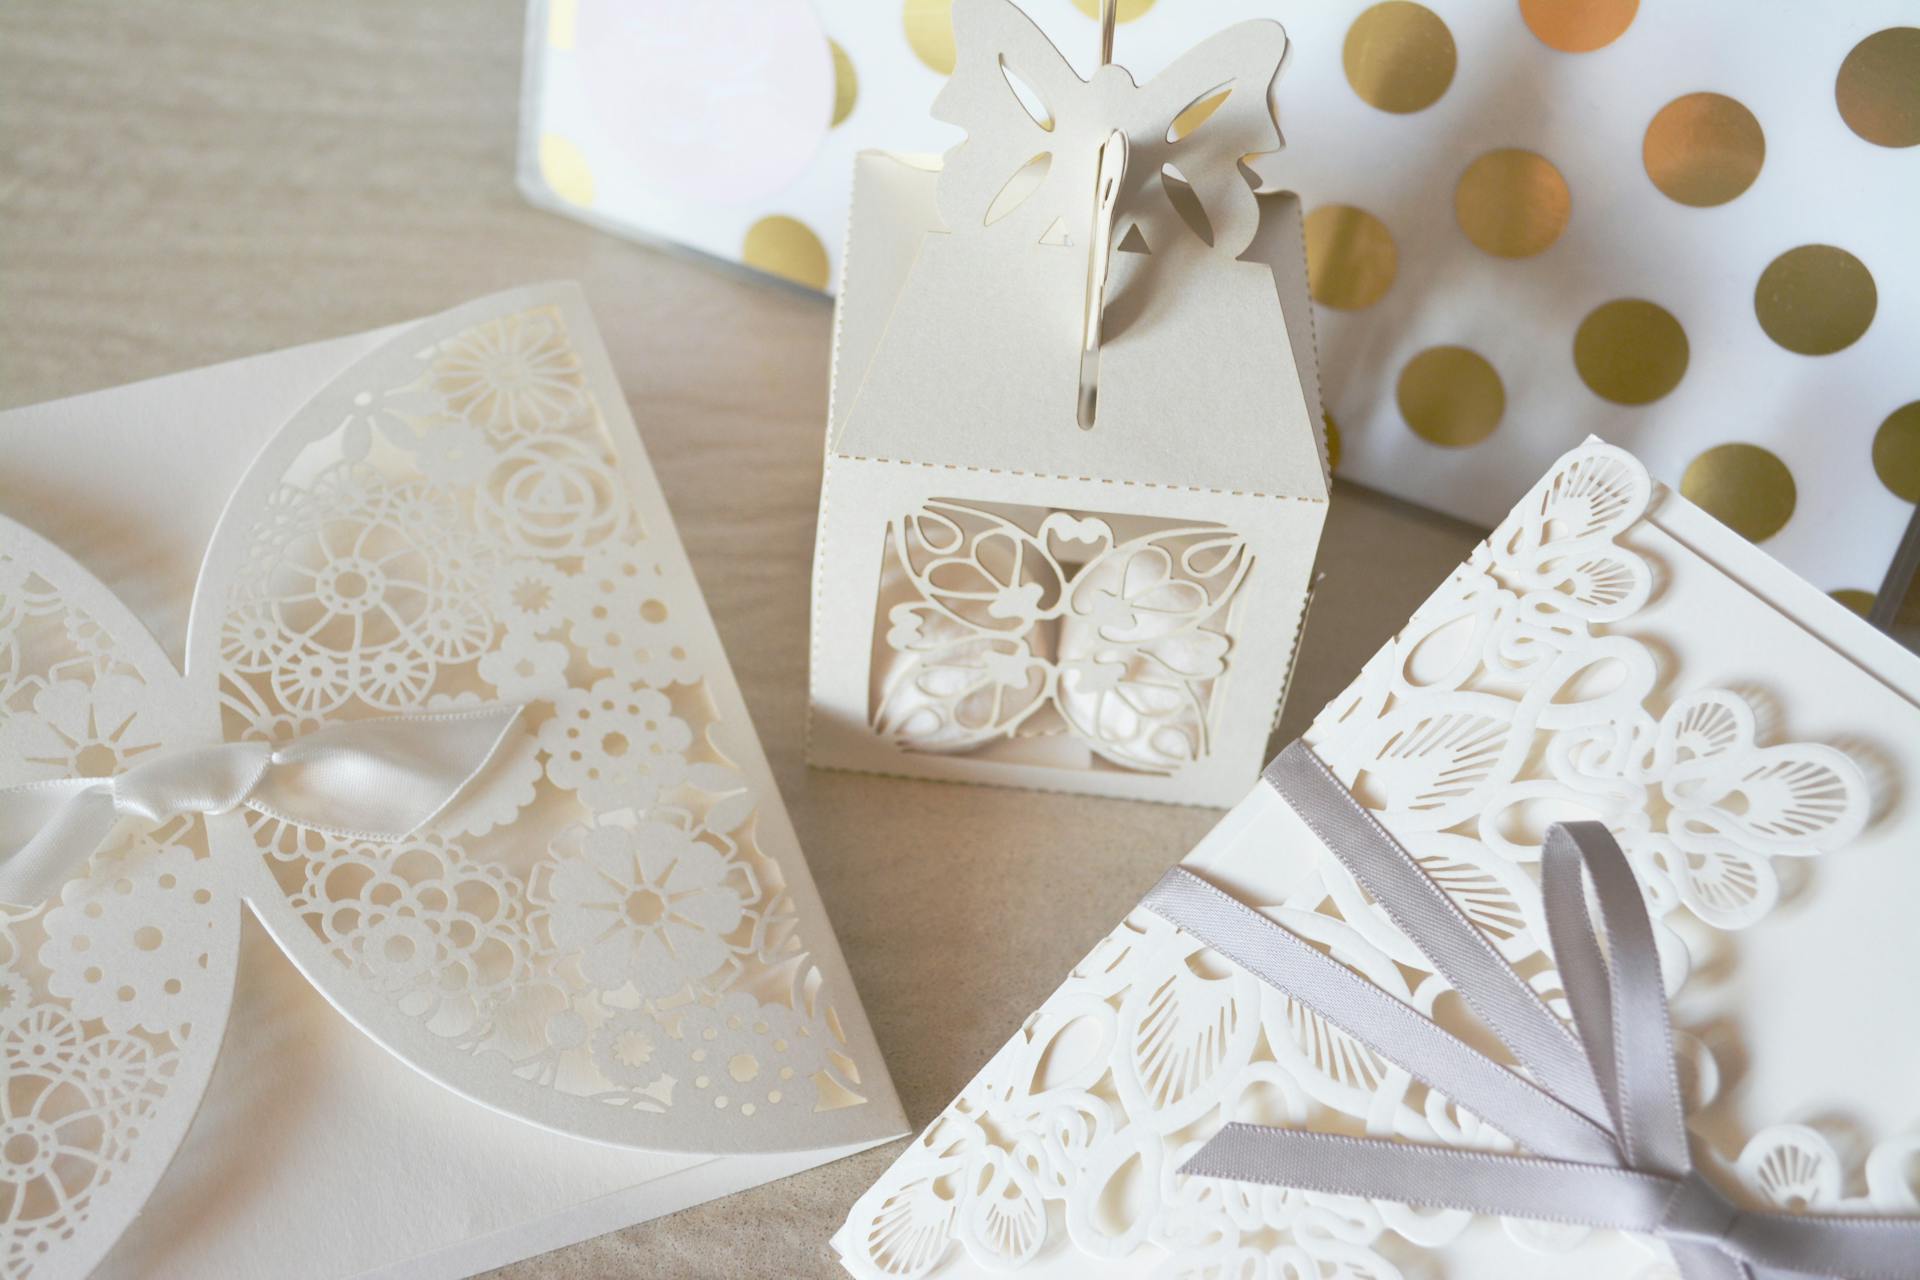
Planning a wedding? It’s one of the most exciting times in life, but also a bit overwhelming. One way to make your big day even more personal is by creating your own wedding invitations. And if you’re feeling a little crafty, the Silhouette Cameo can help you design some truly beautiful, custom invitations. In this guide, I’ll walk you through the steps to create stunning acrylic wedding invitations from start to finish.
What You’ll Need:
Before we jump into the creative process, here’s a list of what you’ll need to make your wedding invitations shine:
1. Silhouette Cameo
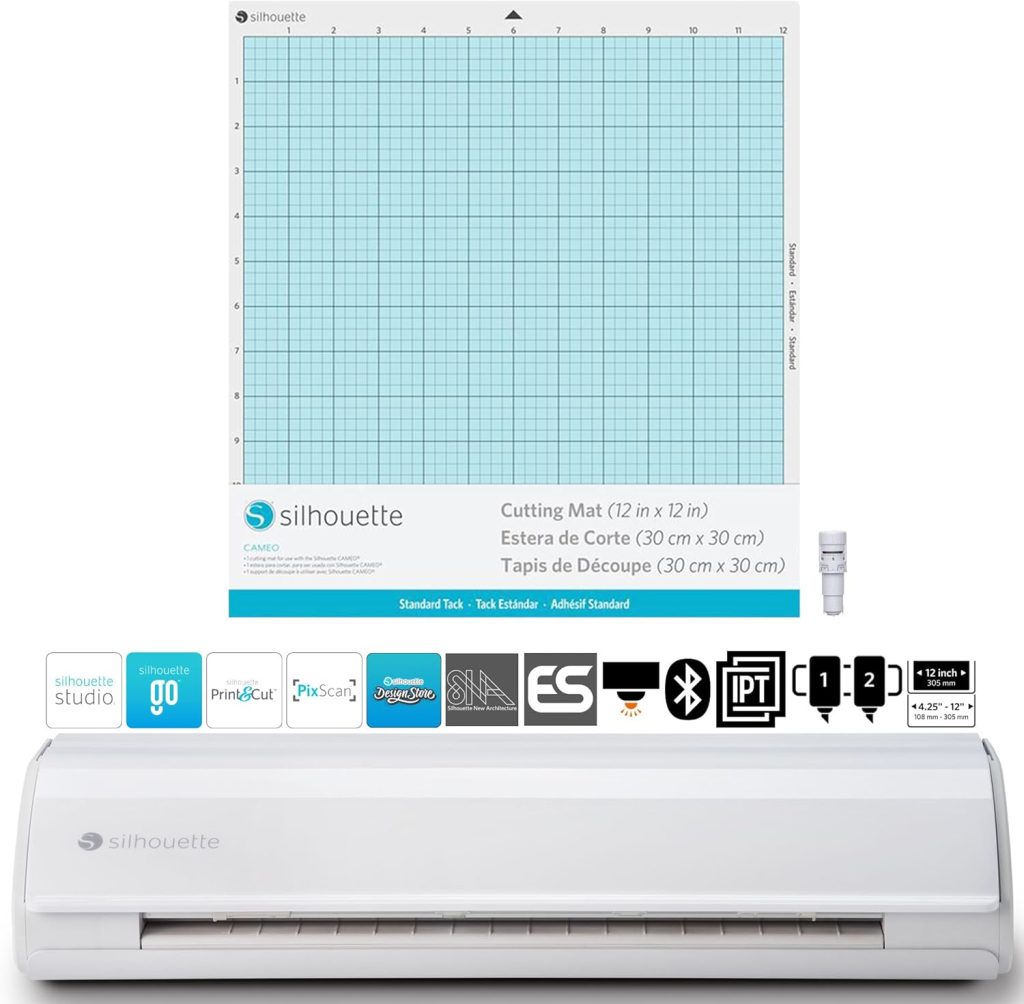
The Silhouette Cameo 5 is a game-changer when it comes to DIY wedding invitations. This cutting machine can handle everything from card-stock to acrylic, and it’s easy to set up. You can grab your Silhouette Cameo 5 on Amazon and get started.
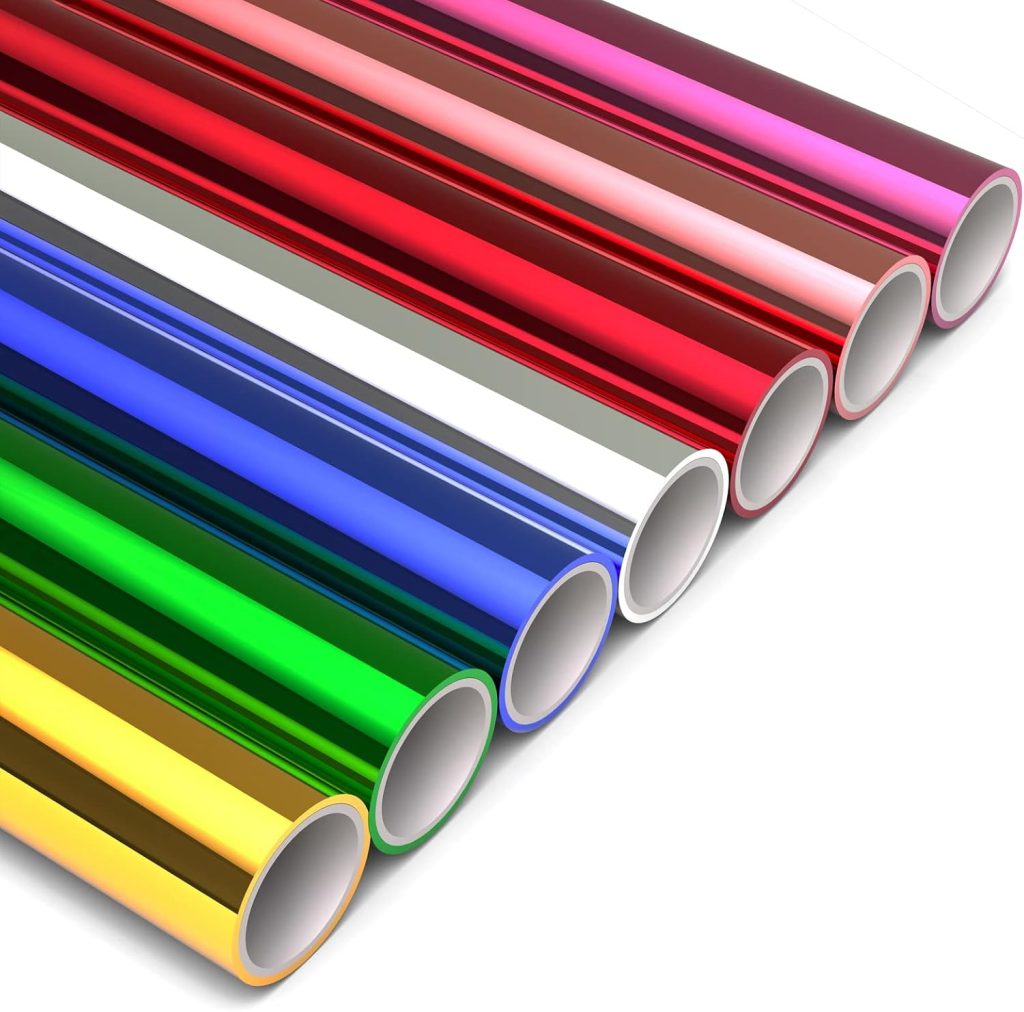
2. Acrylic Cards
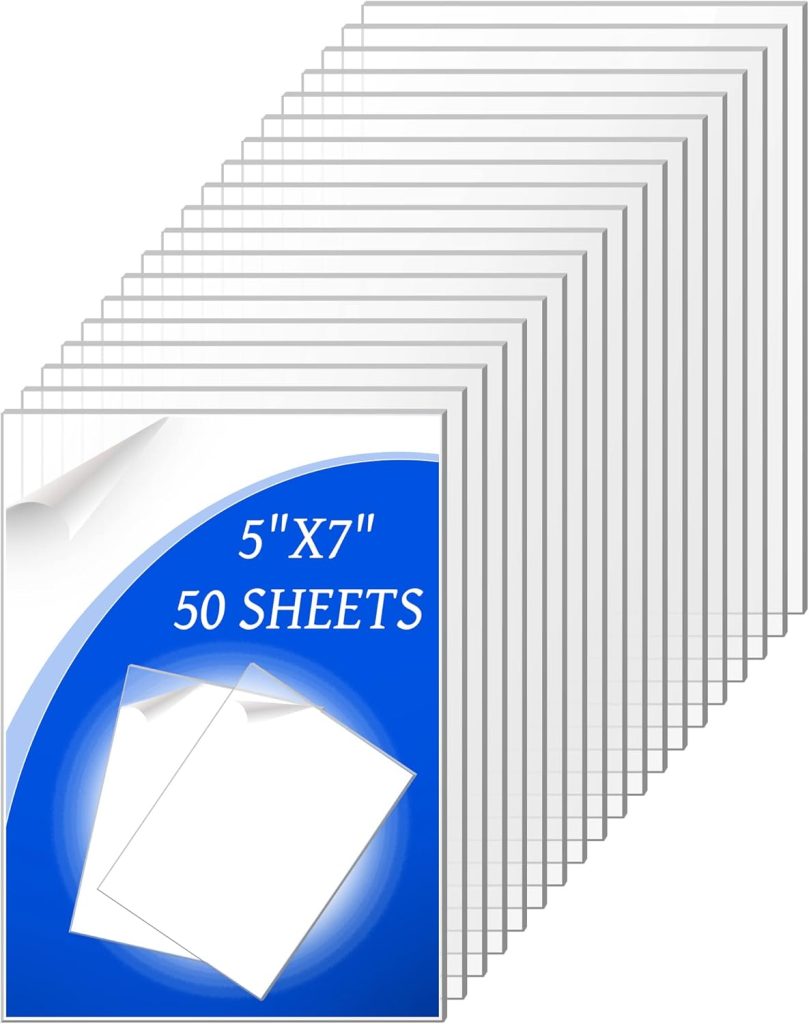
Acrylic wedding invitations have become increasingly popular, and for good reason—they’re sleek, modern, and make a statement. You can find acrylic cards on Amazon that are perfect for your wedding design.
3. Foil Quill Set
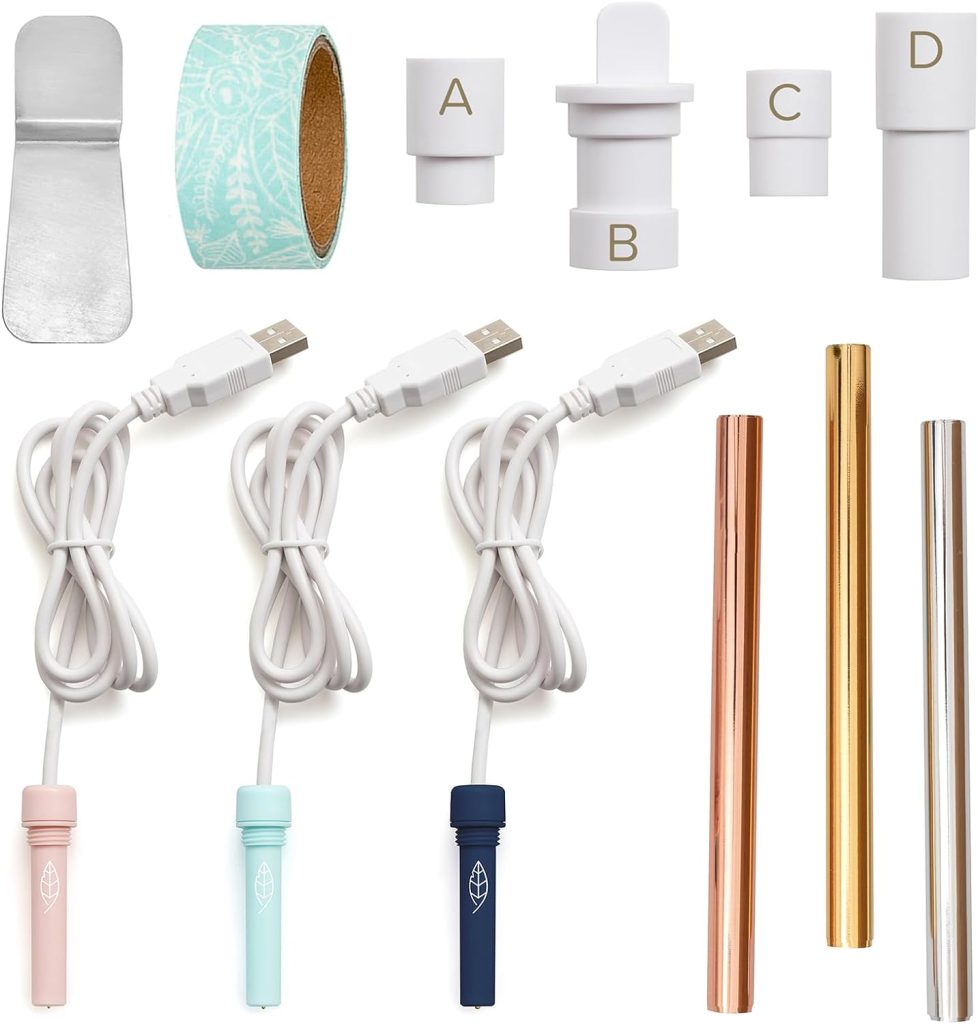
The Foil Quill Set is a must-have for adding that metallic finish. It’s easy to use with your Cameo 4 and will give your invites a high-end touch. You can get the Foil Quill Set on Amazon.
4. Foil Sheets
To create that shiny effect, you’ll need some foil sheets to wrap around your acrylic cards. The foil adds a luxurious touch that will make your invitations pop. Grab your KASYU foil sheets on Amazon to complete the look.
5. Silhouette Studio Software
To decorate, you’ll need the Silhouette Studio Software, which is free to download from the official Silhouette website. This software is where you’ll create your designs, and it’s super easy to use even if you’re new to crafting.
Now that you have everything you need, let’s get started!
Step 1:
Setting Up Your Silhouette Cameo.
Before you begin designing, make sure your Silhouette Cameo 4 is ready to go. If this is your first time using it, don’t worry—it’s pretty straightforward. Follow the setup instructions in the manual to connect your machine to your computer, either via USB or Bluetooth.
Step 2:
Design Your Wedding Invitations in Silhouette Studio
Once your Cameo 4 is set up, open up the Silhouette Studio Software and start designing your wedding invitations! You can create a design from scratch or use one of the many templates available online.
Think about what kind of vibe you want for your invitations—something elegant? Modern? Playful? Try mixing fonts (like cursive and serif) for a refined, but approachable feel. Be sure to include all the important details like your names, wedding date, time, and venue.
Don’t stress if you’re not a graphic designer—there are plenty of pre-made templates to help you out.
Step 3:
Get Your Acrylic Cards Ready for Foiling
Once your design is ready, it’s time to prepare your acrylic cards for foiling. Here’s the fun part! Start by wrapping a foil sheet around your acrylic card, making sure the shiny side is facing up—this is the side that will transfer the foil onto your design.
Now, choose the right tip from your Foil Quill Set. The set includes different tips (fine, medium, and bold), so pick the one that suits your design. If you have delicate, intricate details, you might want to go with the fine tip. For bolder designs, the medium or bold tip will give you more impact.
Step 4:
Foil Your Design
Now that your foil is in place and you’ve selected your tip, it’s time to get foiling! Insert your Foil Quill Pen into your Cameo 4, and the machine will heat up and begin transferring the foil to your acrylic card according to your design. The foil will add a shiny, metallic effect to your invitation—perfect for a touch of elegance.
If you’re working with more intricate designs, remember that the fine tip is perfect for those tiny details. For larger designs, the medium or bold tip will make sure you get a solid, clear finish.
Step 5:
Cut the Invitations
After the foiling is complete, it’s time to cut your acrylic cards. Place them carefully on the cutting mat, ensuring they’re positioned securely. Then, load the mat into your Silhouette Cameo 4 and select the appropriate cutting settings for acrylic.
Make sure you use the deep-cut blade and adjust the cutting depth based on the thickness of your acrylic. Then, hit Send in the Silhouette Studio Software and let the machine cut out your design.
Take your time—cutting acrylic can take a bit longer than paper, but the result will be worth it!
Step 6:
Assemble Your Invitations
Once your acrylic invitations are cut, carefully remove them from the cutting mat. Now it’s time for the final touches! You can add an extra layer, like a paper insert with additional wedding details, or embellish your invites with ribbons, charms, or other decorative elements.
If you need to include extra information (like an RSVP card or wedding website), you can print it separately and attach it to the back of the acrylic card.
Final Thoughts
Creating your own wedding invitations with the Silhouette Cameo 4 is not only a fun project but also a way to make your wedding day even more memorable. You’ll have personalized invitations that are totally unique to you—and trust me, your guests will be impressed!
To get started, grab your Silhouette Cameo 4 and acrylic cards from Amazon, pick up a Foil Quill Set for that extra shine, and make sure you have foil sheets to wrap around your cards. Don’t forget to download the free Silhouette Studio Software from the official website to start designing.
With these easy steps, you’ll have custom acrylic wedding invitations that’ll leave a lasting impression on everyone. Happy crafting, and I hope your wedding day is as beautiful as your invitations!
Stay creative folks!